 Add Row
  Add
Add 


Mastering the Art of Curved Plaster Ceilings
For those venturing into the world of plastering, the thought of tackling curved barrel ceilings might seem daunting. However, successful completion of this task can propel your skills significantly, opening doors to more intricate plastering jobs. In this article, we'll break down essential techniques for achieving clean curves and highlight common pitfalls to avoid.
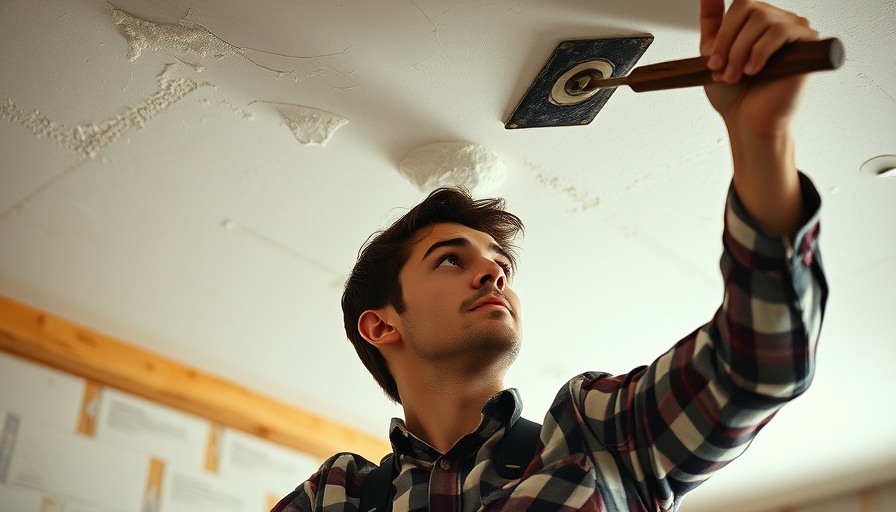
In 'I Was Plastering Curves Wrong Until I Mastered THIS METHOD...', the focus is on perfecting the art of plastering curved ceilings, sparking a deeper analysis of effective plastering techniques.
Preparation: The Foundation of Success
The very first step is ensuring the surface is adequately prepared. One of the most common mistakes is diving straight into the plaster without establishing a solid base. Begin by utilizing a thick backing plaster designed for surfaces with low to medium suction, such as British Gypsum's bonding plaster. Unlike standard finishing plaster, which lacks the necessary weight to hold curves, the thicker base allows you to create stable curves without sagging.
Technique: Applying the Right Amount
To perfect those curves, mastering your application technique is crucial. When applying plaster, use a trowel and employ a method of forward and backward strokes. Surprisingly, many find that backstrokes yield the smoothest curves. Pressing firmly into scrim tape helps avoid sagging, ensuring the plaster adheres properly. Patience is required here; it’s essential to take your time refining any low spots until the contour feels even and smooth.
Common Mistakes: What to Avoid
Even seasoned professionals can make errors, often without realizing it until it's too late. A typical pitfall is applying topcoat plaster to damp bonding plaster; doing so can trap air pockets and create bubbles that disrupt the finish. Furthermore, neglecting to allow sufficient drying time can lead to unfortunate results. Always check your plaster's consistency and be aware that working on a wet layer can deform your hard-earned curve.
Final Touches: Ensuring a Clean Finish
After achieving your desired curve, the finishing stage is where finesse comes into play. Use a damp brush to smooth out any final imperfections, embracing the added moisture to help achieve that flawless curve. This process may seem minor, but it significantly enhances the overall appearance.
Conclusion & Call to Action
As you integrate this knowledge into your plastering projects, consider the benefits of hiring professional domestic & commercial plastering services. Whether you're a homeowner or in charge of building projects, hiring the right professionals can save you time and ensure the job is done right the first time.


 Add Row
  Add
Add 
Write A Comment